*Some of the links on this blog are affiliate links. This means that if you click on a link and make a purchase, I may earn a small commission, at no extra cost to you. I only recommend products and tools that I personally use and genuinely believe in. Your trust means everything to me, and I would never share something just for the sake of a commission.
If you’re done investing hours and hours and your whole sanity into a little bit of sourdough bread just to save a few dollars, but you still want delicious, fluffy bread for your family without all the weird ingredients and all the sugar – stick around, because this one might be for you.
Why I Started Baking Bread in the US
I actually only started baking bread here in the US after we moved from Germany. And I say this with all the love in the world for my American readers, but – I’m sorry – the bread here is just not very good. And I was absolutely not willing to pay $13 for one loaf of sourdough bread at Whole Foods. But I also didn’t want to invest a huge amount of time and effort into making it myself.
Maybe you know the Pareto Principle – the idea that you get 80% of the result with just 20% of the effort. I think that’s kind of how I approach bread baking. I found a pretty good way to combine easy bread-making with cheap bread-making, and it still tastes absolutely delicious. The best of all worlds, without all the effort. No compromises.
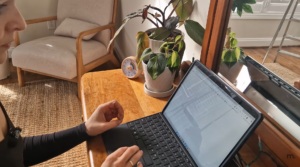
So today we’re going to make two different bread recipes – one with sourdough and one with yeast – and both are inspired by my family’s recipes. If you prefer visual content check out my YouTube video about this topic:
A Little Family History
My grandmother’s father owned a bakery in northern Germany before World War II. Sadly, he didn’t return from the war, and the bakery was destroyed. But somehow the passion for baking still runs in this family. He would probably have a thing or two to criticize about my baking style – but that’s okay. The love for bread survived, and I’m happy to pass it on.
Recipe 1: The Sourdough Loaf – Featuring Herbert
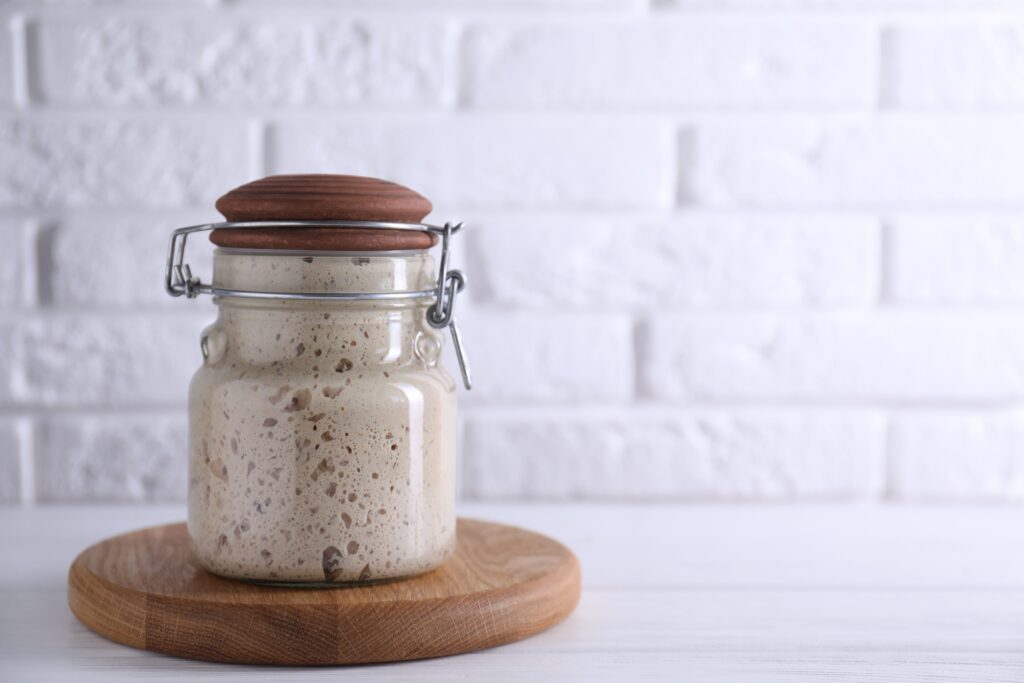
Meet Herbert – my sourdough roommate
I have a roommate named Herbert. Herbert is my sourdough starter. He’s a living being and needs to be fed from time to time and doesn´t like being hungry. But unlike other roommates who don’t contribute anything to the household, Herbert actually has a pretty good job: he rises the bread dough naturally.
You can make your own sourdough starter very easily – just mix flour and water, feed it for a couple of days, and the fermentation process will start to kick in. You can also just buy a sourdough starter if you prefer. A lot of people keep their starter nice and warm on the counter and feed it every single day, but I personally feel like that’s a waste of resources.
My Herbert is from northern Germany, so he can handle the cold just fine. He waits happily in the fridge for about 6 to 7 days between feedings. I usually only feed him once a week, either the day before I bake or 4-56 hours before I start making the dough.
The Night Before Baking
When I started with sourdough bread baking, I was so overwhelmed by all the timing stuff. So here’s how I simplified it: I take the starter out of the fridge the evening before I want to bake.
After taking it out of the fridge, I feed it with 50g of whole wheat flour and 50g of water. I feel like whole wheat flour gives the starter a little more to chew on, so I don’t need to feed Herbert as often as I would if he were sitting on the counter at room temperature – warmth speeds up the fermentation process. Plus, whole wheat flour has a few more nutrients in it, so my sourdough Herbert simply has a little more to eat. That being said, you can absolutely use regular white flour too!
I mix the flour with water and then let the starter sit overnight on the counter until it’s roughly doubled in size.
The Next Morning
Once the starter has risen nicely and you can see lots of bubbles – that’s a great sign that it’s active and healthy – I only use half of it for the sourdough bread. The other half goes into a clean glass container, gets fed again, and goes straight back into the fridge so it’s nice and active for the next bake.
The thing with sourdough is that the bacteria in the starter actually keep it from molding. But it’s still important to keep the container clean. I use mine for about two bakes before it starts building up some crust on the sides, and I want to prevent it from going bad. Even a small amount of starter is enough to keep it alive and propagate it again – just always make sure you have some left after baking.
🔹 Ingredients:
– 300 g white flour
– 300 g whole wheat flour
– 90 g sourdough starter
– 330 ml lukewarm water
– 10 g salt
Products I can recommend for Sourdough bread baking (affiliate links, if you buy something I get a small commision, this comes at no extra cost for you but supports my work immensely):
Viking Dutch Oven (similar quality to Le Creuset but way cheaper!)
Sourdough Starter Kit
Pizza Stone that distributes the heat a little better
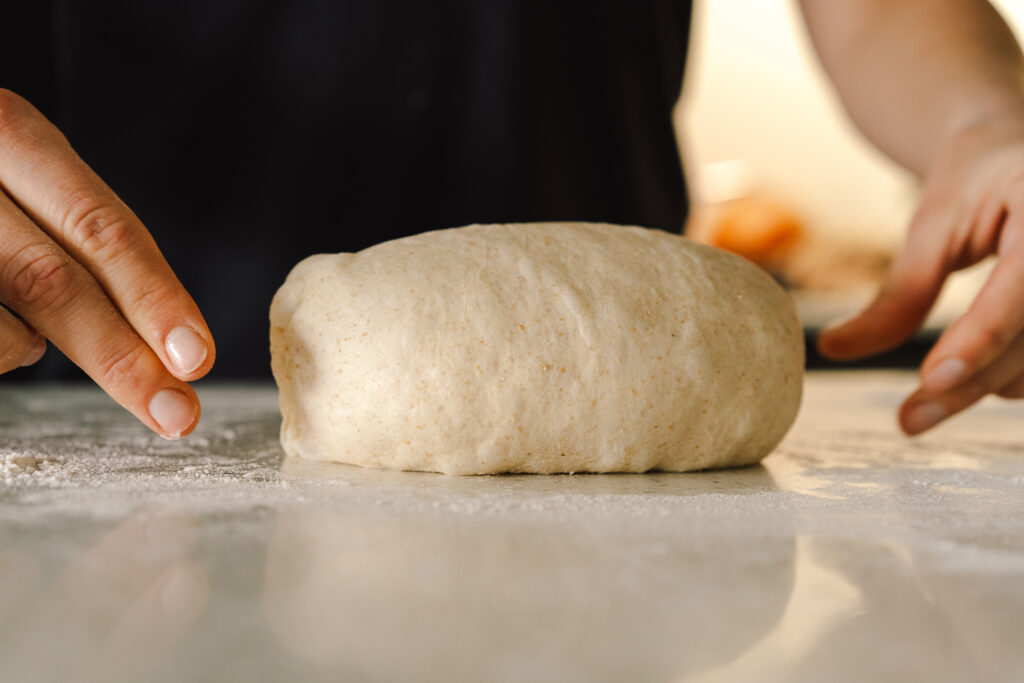
Mixing and Shaping the Sourdough
I’ll be honest – getting the first loaf right feels like a bit of work. But after that, I promise: no kneading, no elaborate folding, none of the fussy steps you see in a lot of sourdough recipes. We’re skipping all of that.
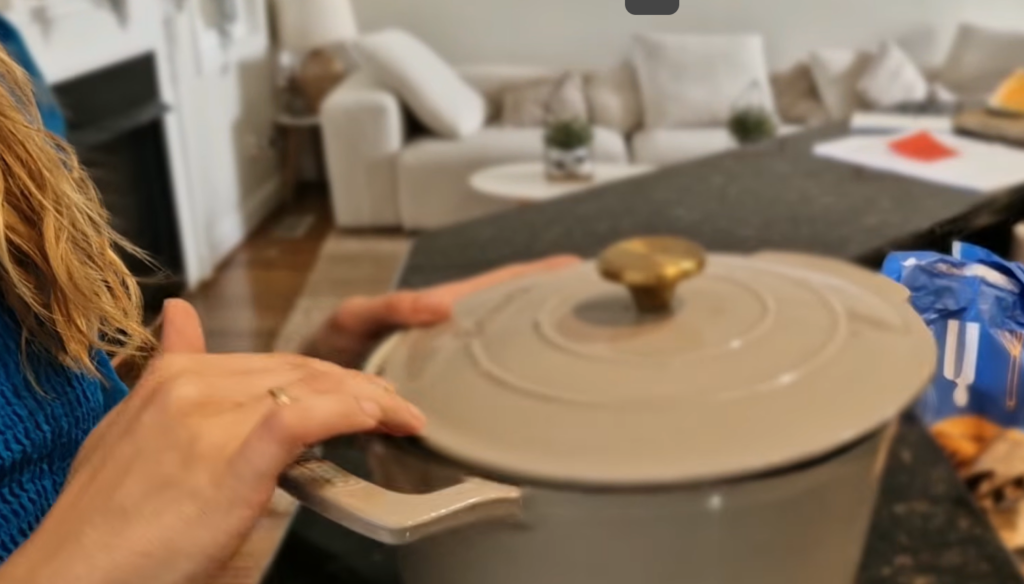
I bake my sourdough bread in a Dutch oven, and I am so happy with mine. I got it for only $80 – normally in Europe, these cost over 300 euros, so something like $350. Mine had a small cosmetic damage on the lid, which honestly doesn’t bother me one bit, so I got it for a great price and it makes me genuinely happy every single time I use it.
That said, you don’t necessarily need a Dutch oven. But the bread will hold its shape much better and develop a beautiful crust if you use one.
I place the shaped sourdough dough on parchment paper and put it straight into the Dutch oven – that way it doesn’t stick. It will rise and bake right in there, so there’s no taking it out, no folding, no fussing. I leave a small gap so the bacteria can do their thing, and then it just rests for about 12 hours while we make the second loaf in the meantime.
Let´s make a short break here! Are you struggling with valuing your food? Do you throw away too much and waste too much on unneccessary purchases and food that has gone back in the back of your fridge? Check my pantry tracker out! It helps you stay on track and to avoid food waste.
Recipe 2: The Soft Toast Loaf
The toast loaf is actually even easier than the sourdough bread, because you basically just mix everything together and let it sit for a while. Sometimes I use my bread maker for this one – and if you’re considering getting one, I’m happy to link the one we have, we’re very satisfied with it. It’s incredibly convenient because you just throw everything in and it does the work by itself. But today we’re making it in a bowl, because I know a lot of you don’t have a bread maker.
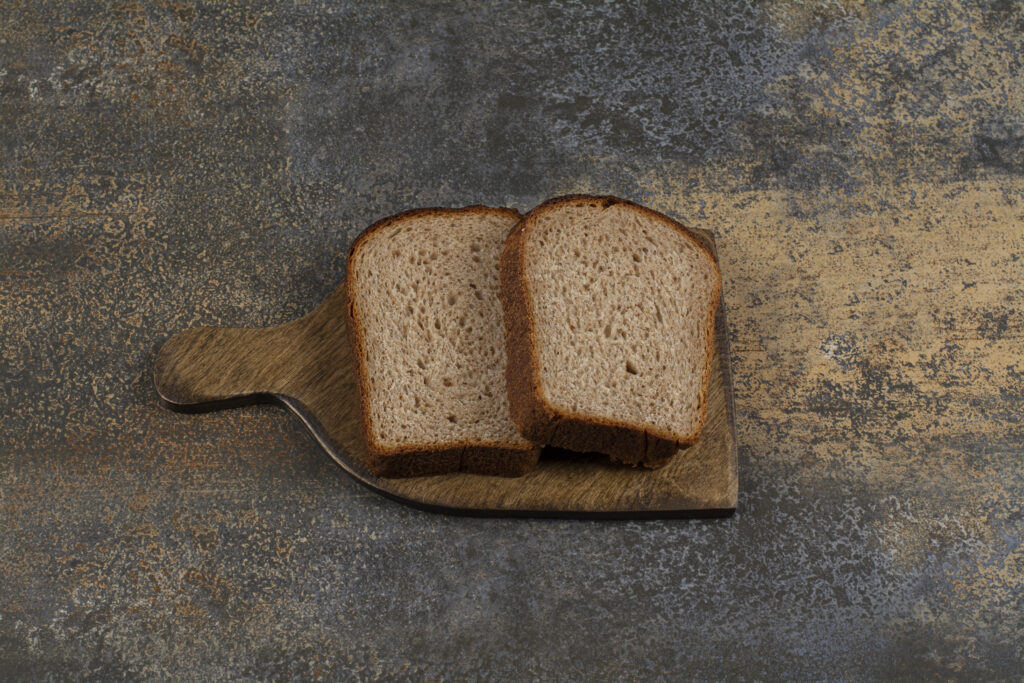
For the toast loaf, I use only white flour, because it makes the bread softer and more toast-like – exactly what you want for this one.
For both loaves, I always use filtered water, since the tap water here has a bit too much chlorine for my taste and I just don’t want that in my bread. I had to learn that the hard way.
Toast Bread Ingredients:
– 150 ml water
– 150 ml milk
– 30 g butter
– 500 g wheat flour
– 1 tsp salt
– 1 tbsp sugar
– 10 g dry yeast
A Lesson About Yeast
Speaking of learning the hard way – I always buy these big packages of yeast at Sam’s Club, which is great value. But what I didn’t know for a while is that once you open the package and just store it in a cabinet, the yeast will go inactive and eventually go bad.
You actually need to seal it tightly and store it in the fridge or even the freezer to keep the yeast alive and active. I spent a lot of time wondering why my bread wasn’t rising anymore before I figured this out. So save yourself the money and the frustration: store your yeast in the fridge.
Rising and Baking
Same idea as with the sourdough: I let the dough rise directly in the baking pan to keep things fast and simple. After mixing everything together, I cover it with a kitchen towel and let it sit in a warm place for about two to three hours.
Once both loaves have risen, they go straight into the oven. Normally I bake either two toast loaves or two sourdough loaves at the same time to save on electricity – that way it’s about 2.5 hours for two full loaves. I usually freeze one loaf, and it also works better with the rising times when you’re making two at once.
Before the bread goes in, I sprinkle a little water on top inside the Dutch oven, because the steam helps to create a better crust. I also place a pizza stone under the Dutch oven to keep the bottom from getting too dark. That’s honestly such a good tip – it makes a real difference.
The Best Part
A lot of people say you should let the bread cool down completely before slicing it. And sure, technically that’s true. But honestly – isn’t eating it warm the best part? I like mine with hummus and avocado. Let me know in the comments what your favorite bread spread is!
Final Thoughts
So that’s basically it – my cheap, easy German bread recipes. Sourdough police, please don’t come at me. I know this is not the totally perfect or traditional way sourdough bread is usually made. But it’s the easiest, fastest, and cheapest way that works for us as a family, and it still tastes amazing – so who cares?
If you try one of the recipes, let me know how they turned out! And if you want more frugal, cheap German recipes from my family, or everyday frugal and minimalistic tips from a German living in the US, make sure you subscribe to the channel.
I’m also planning to publish a cookbook with all my grandma’s recipes – so if you don’t want to miss that, check out my website and sign up for the newsletter. Can’t wait to see you in the next one!